

Routing the Wires #
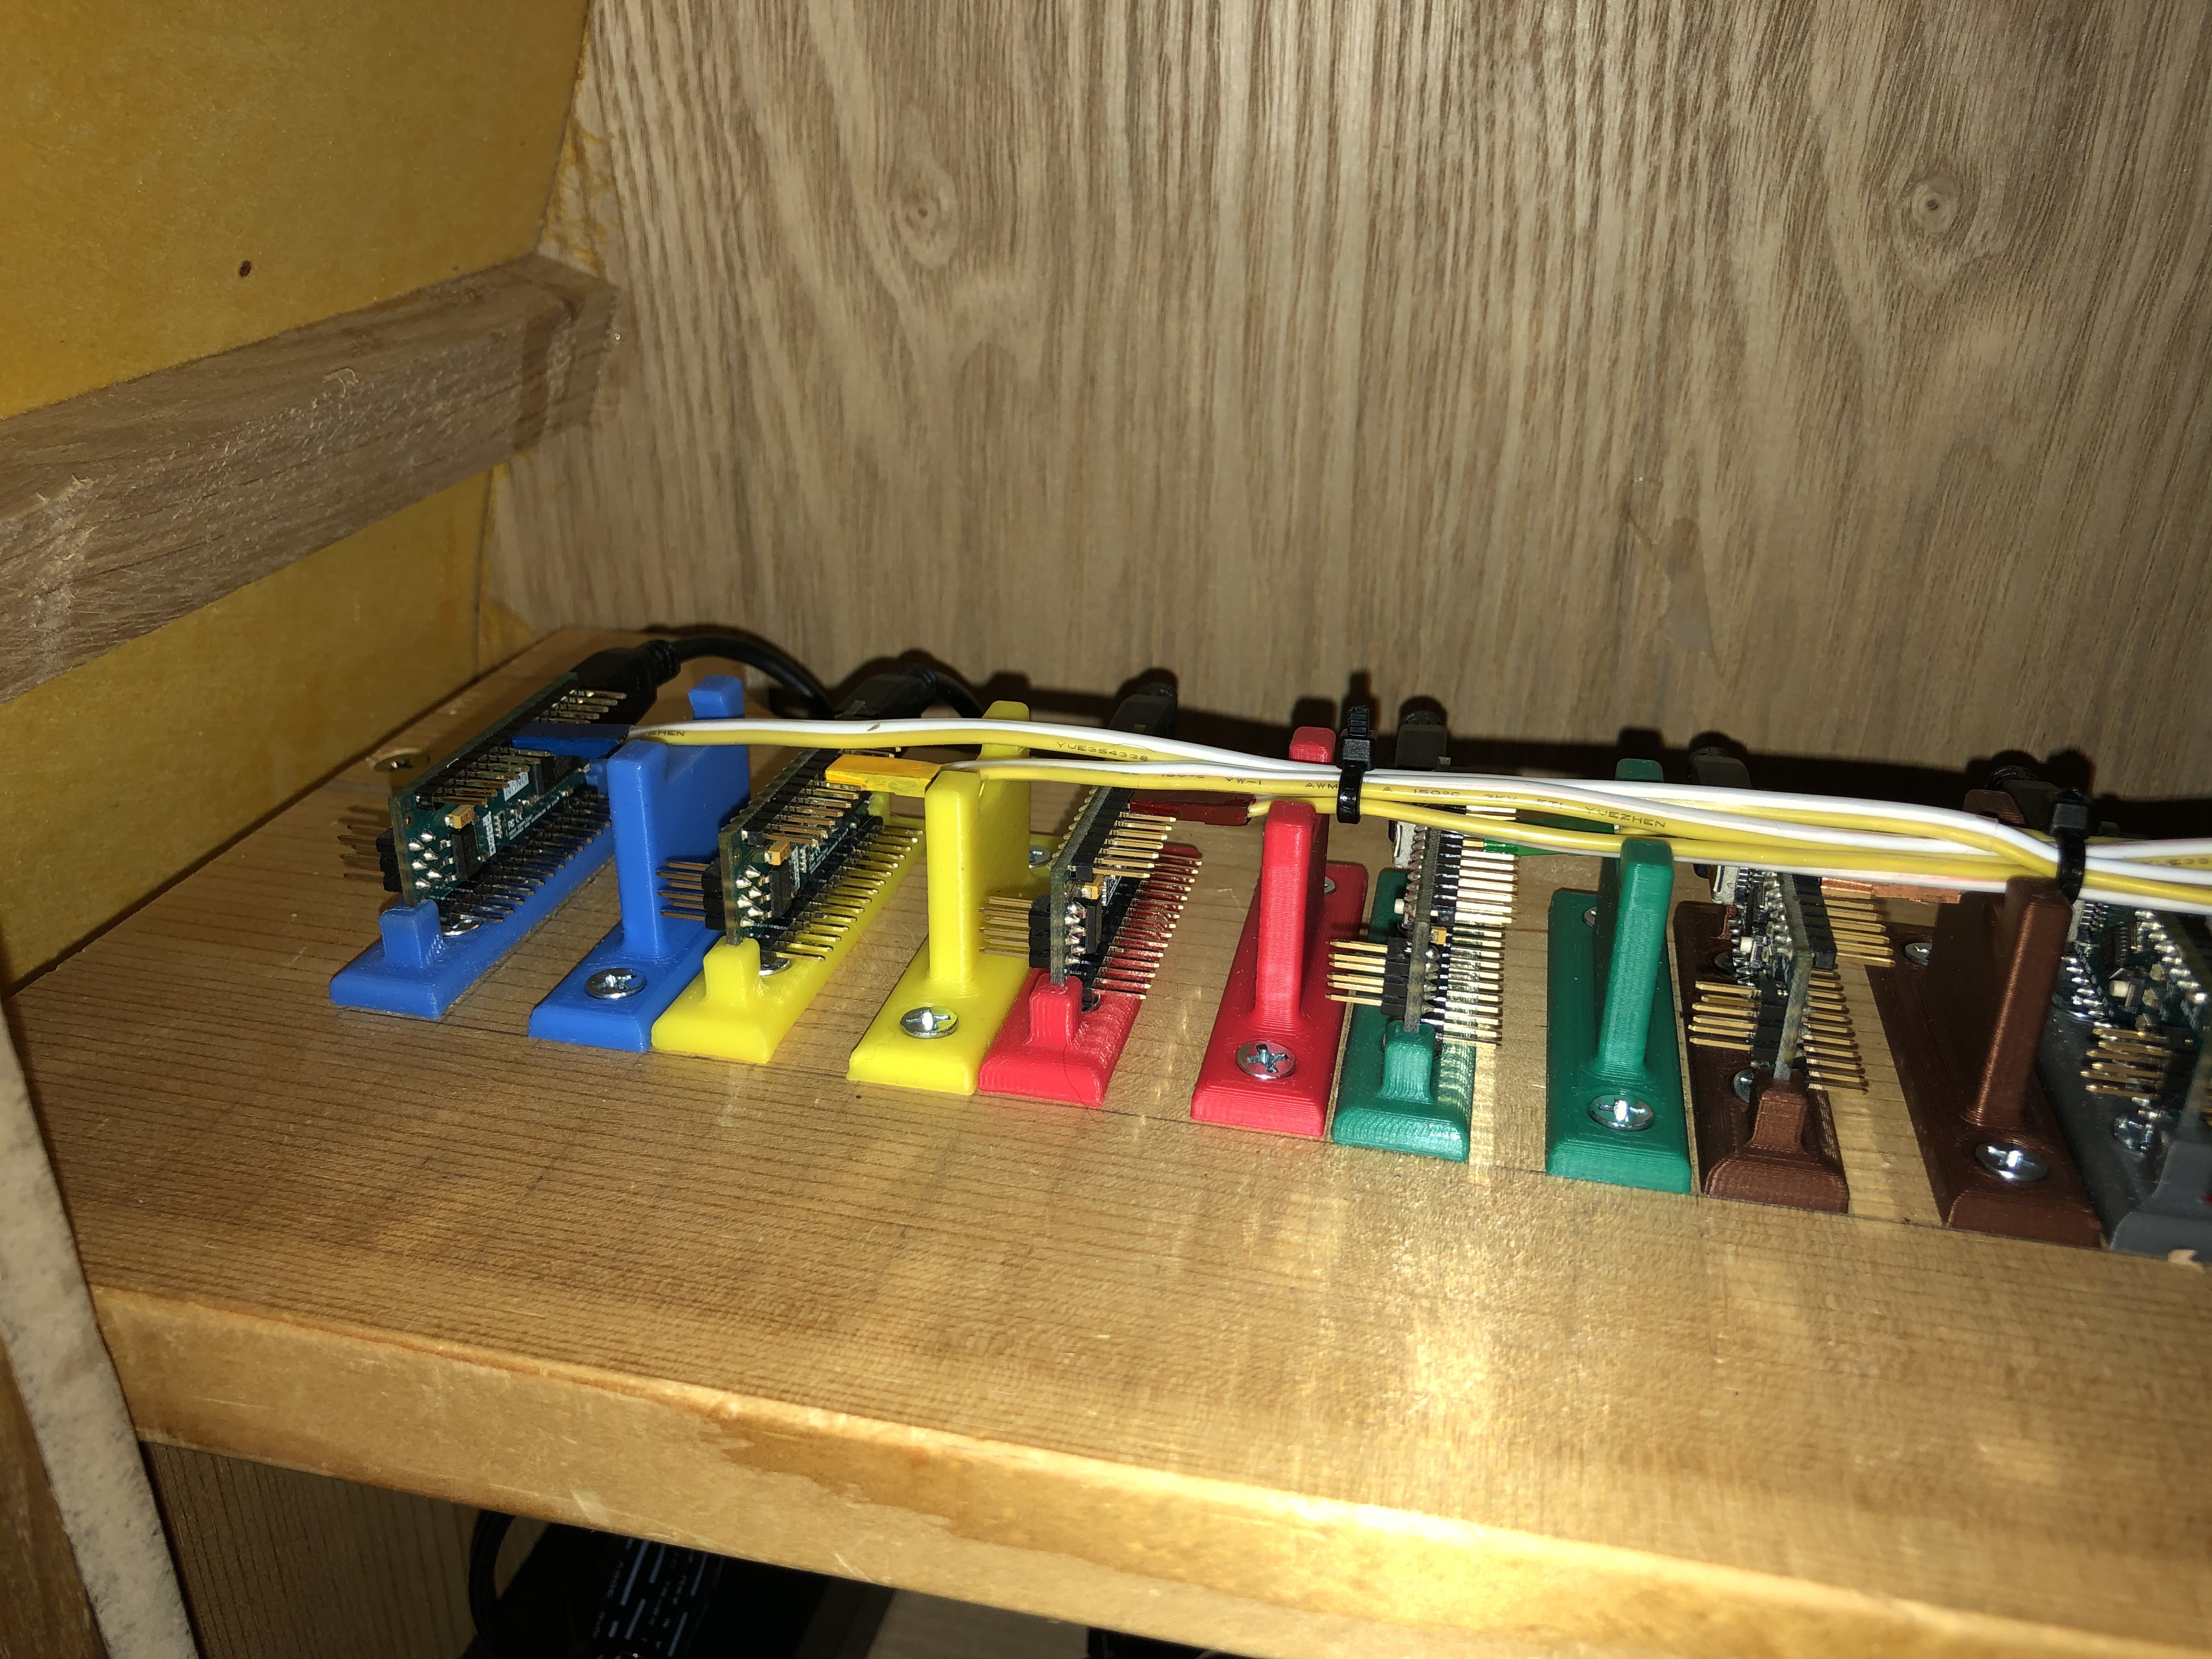
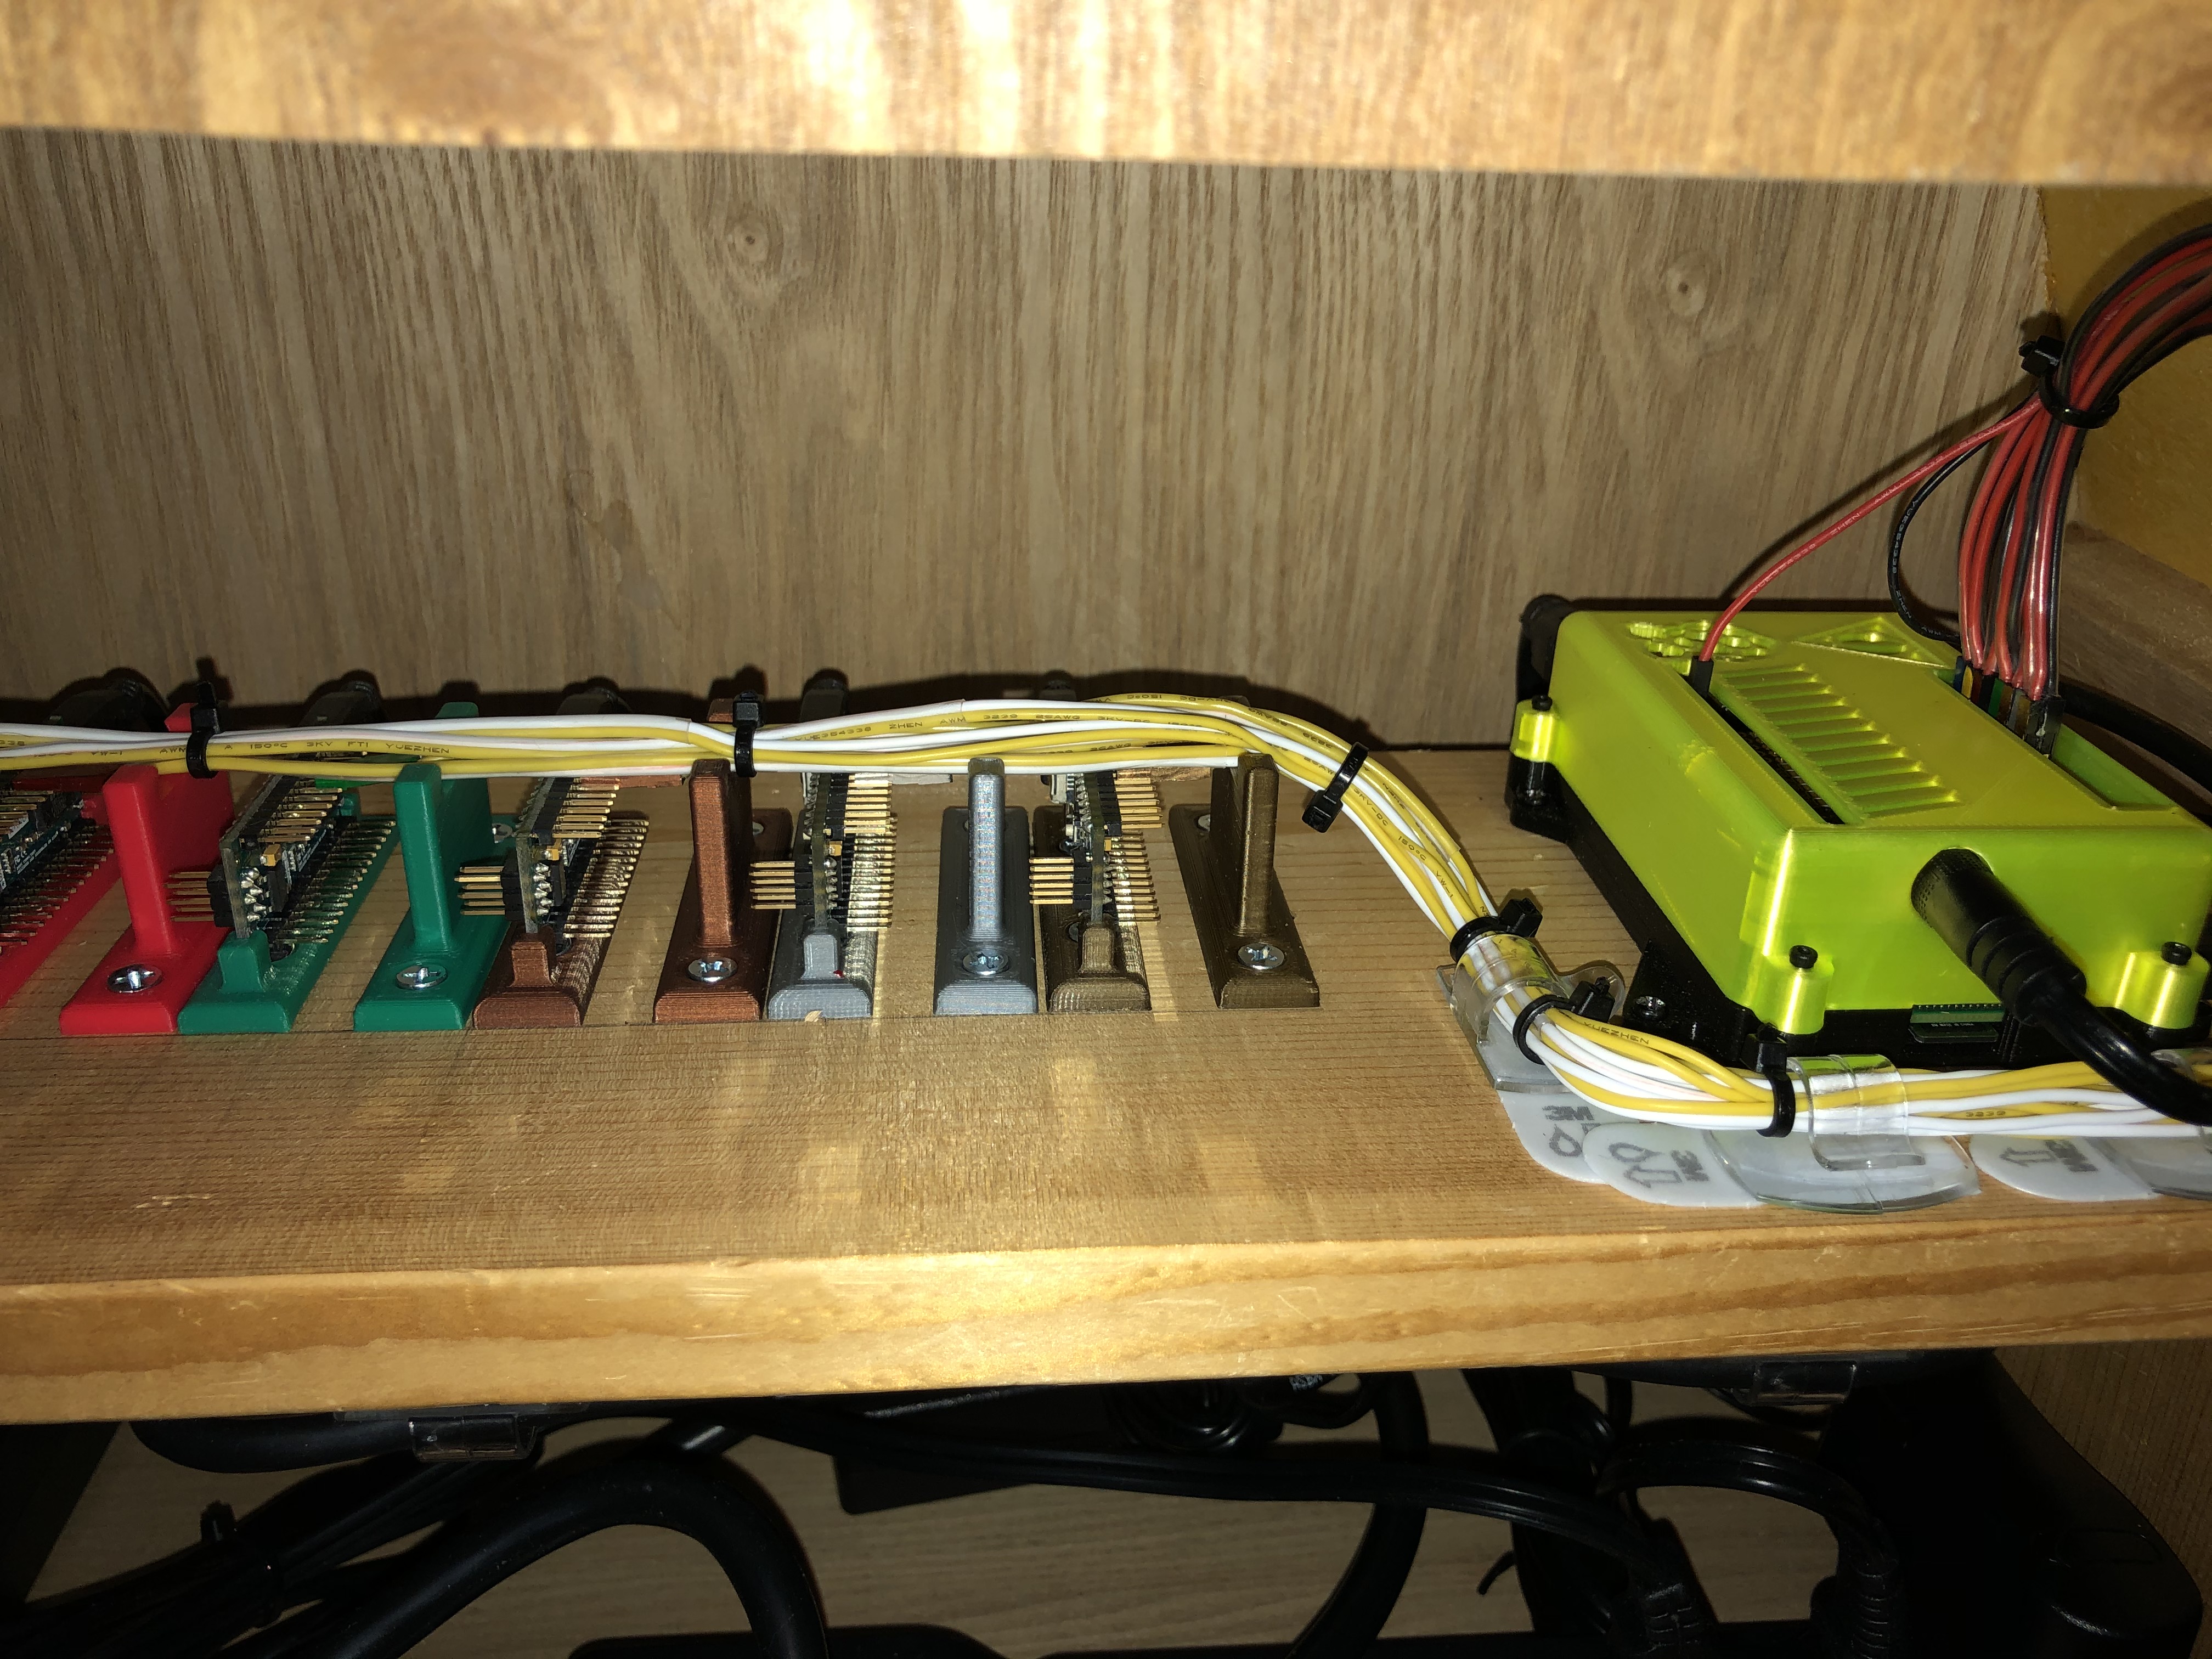
Due to the decision of putting all of the computing in the base, I now needed to run all of the wiring up to the servos and motors. This ended up creating a mess of wires due to having seven Arduino Nanos, one Raspberry Pi, seven servors for the hands, two servos for the weights, the power for the pendulum motor, and wires for the sound and power for the speakers. All those wire could tangle someone up like Devil’s Snare.

"Good thing we didn't panic."
-Ron Weasley
-Ron Weasley
Conduit Pipe #
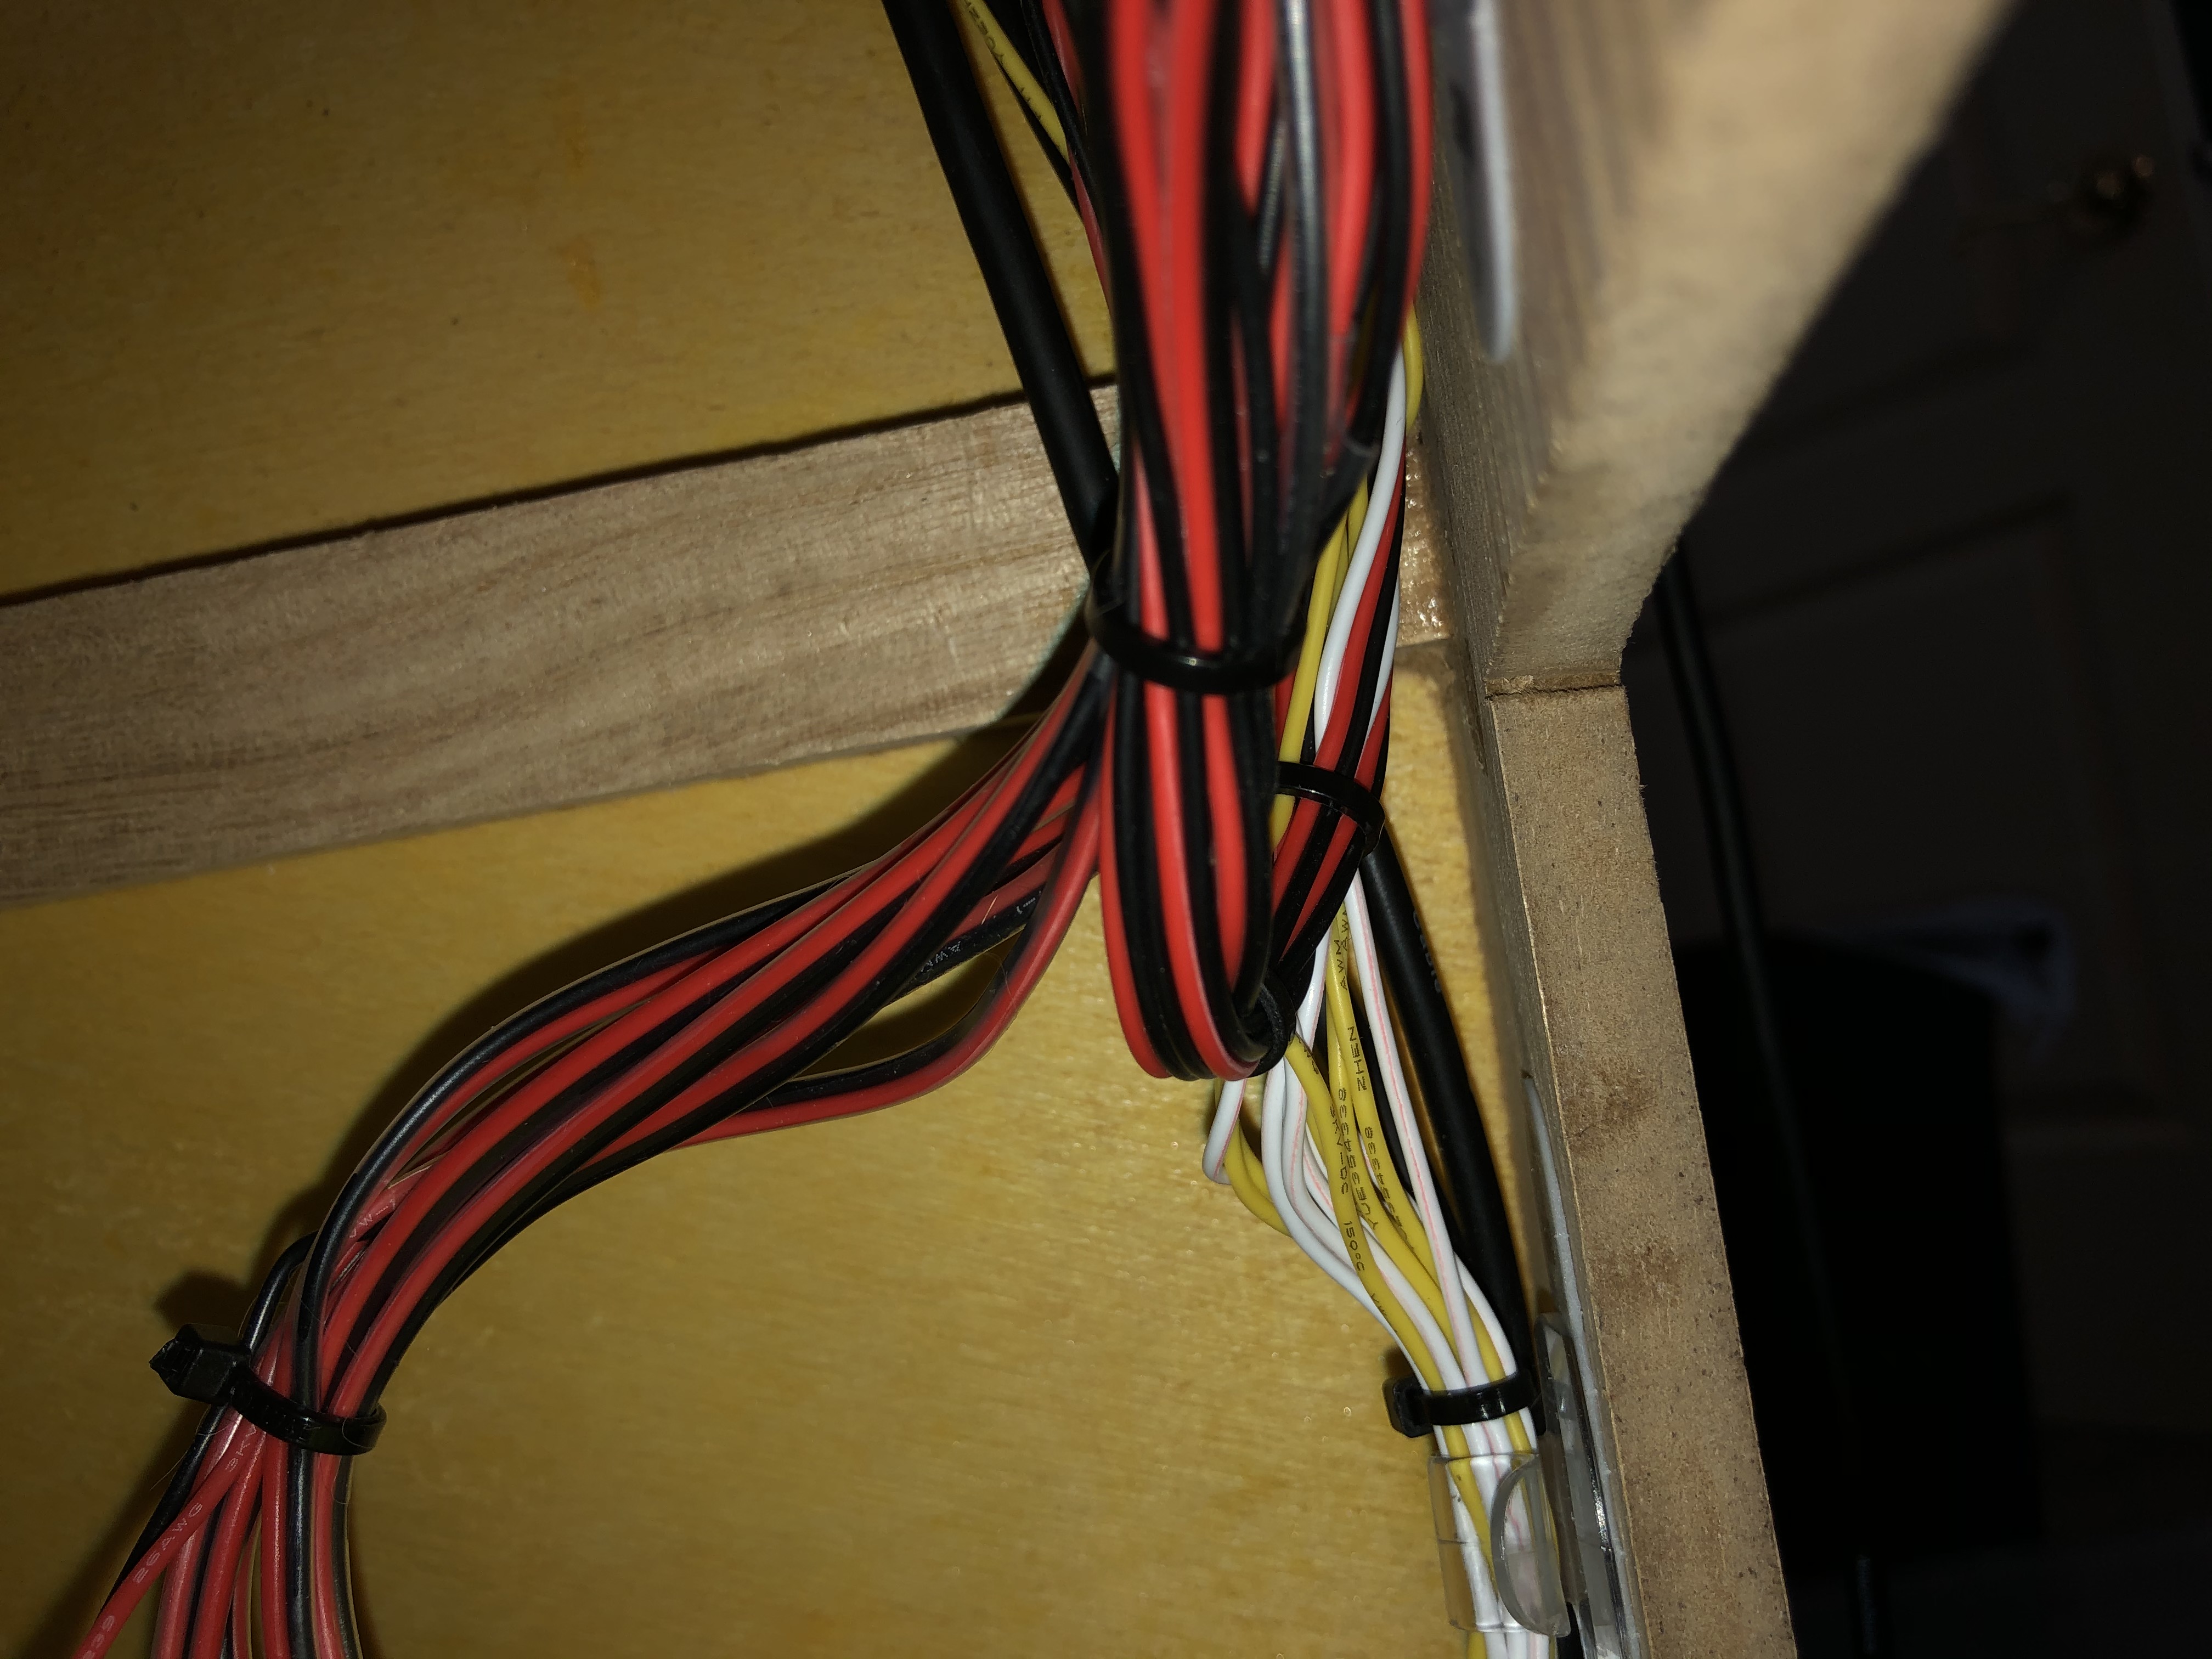
I didn’t want it to be visible but there were too many wires and not enough space to put them behind the clock. Therefore, I created a wire conduit pipe going up through the case and painted it black.
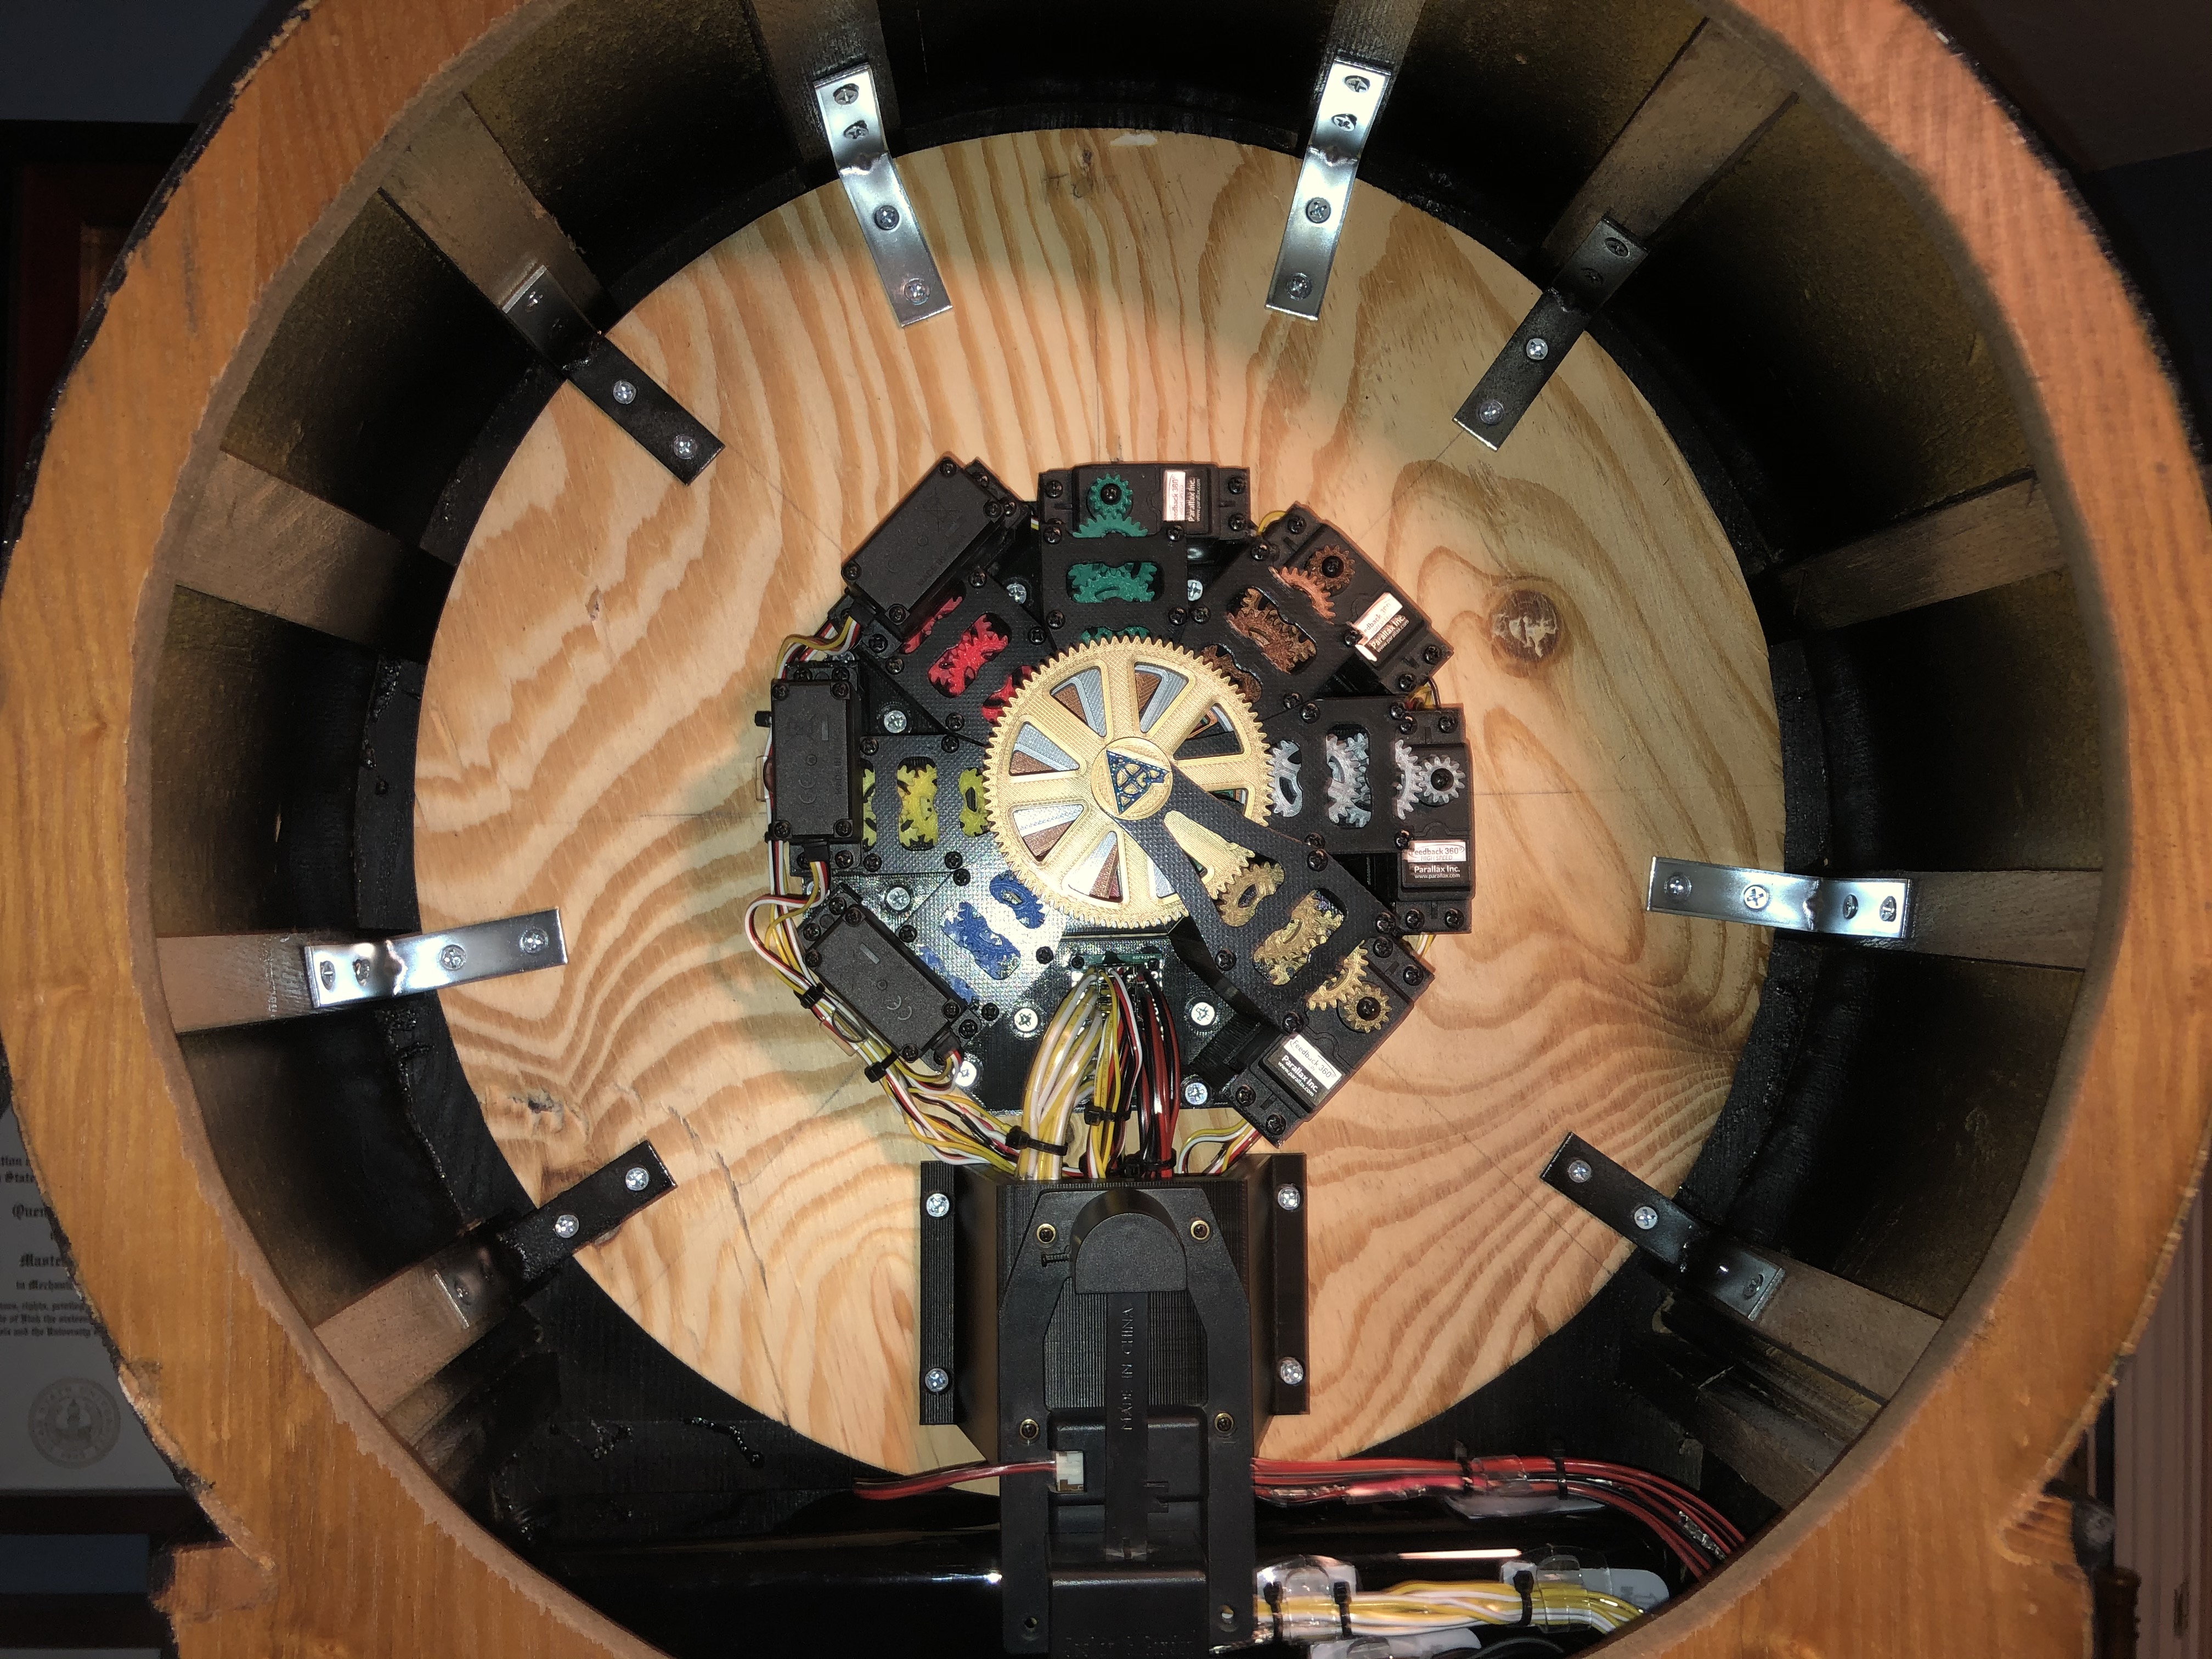
The routing went from the Arduinos and Raspberry Pi through the conduit pipe and then to the speaker, servos, and motor.
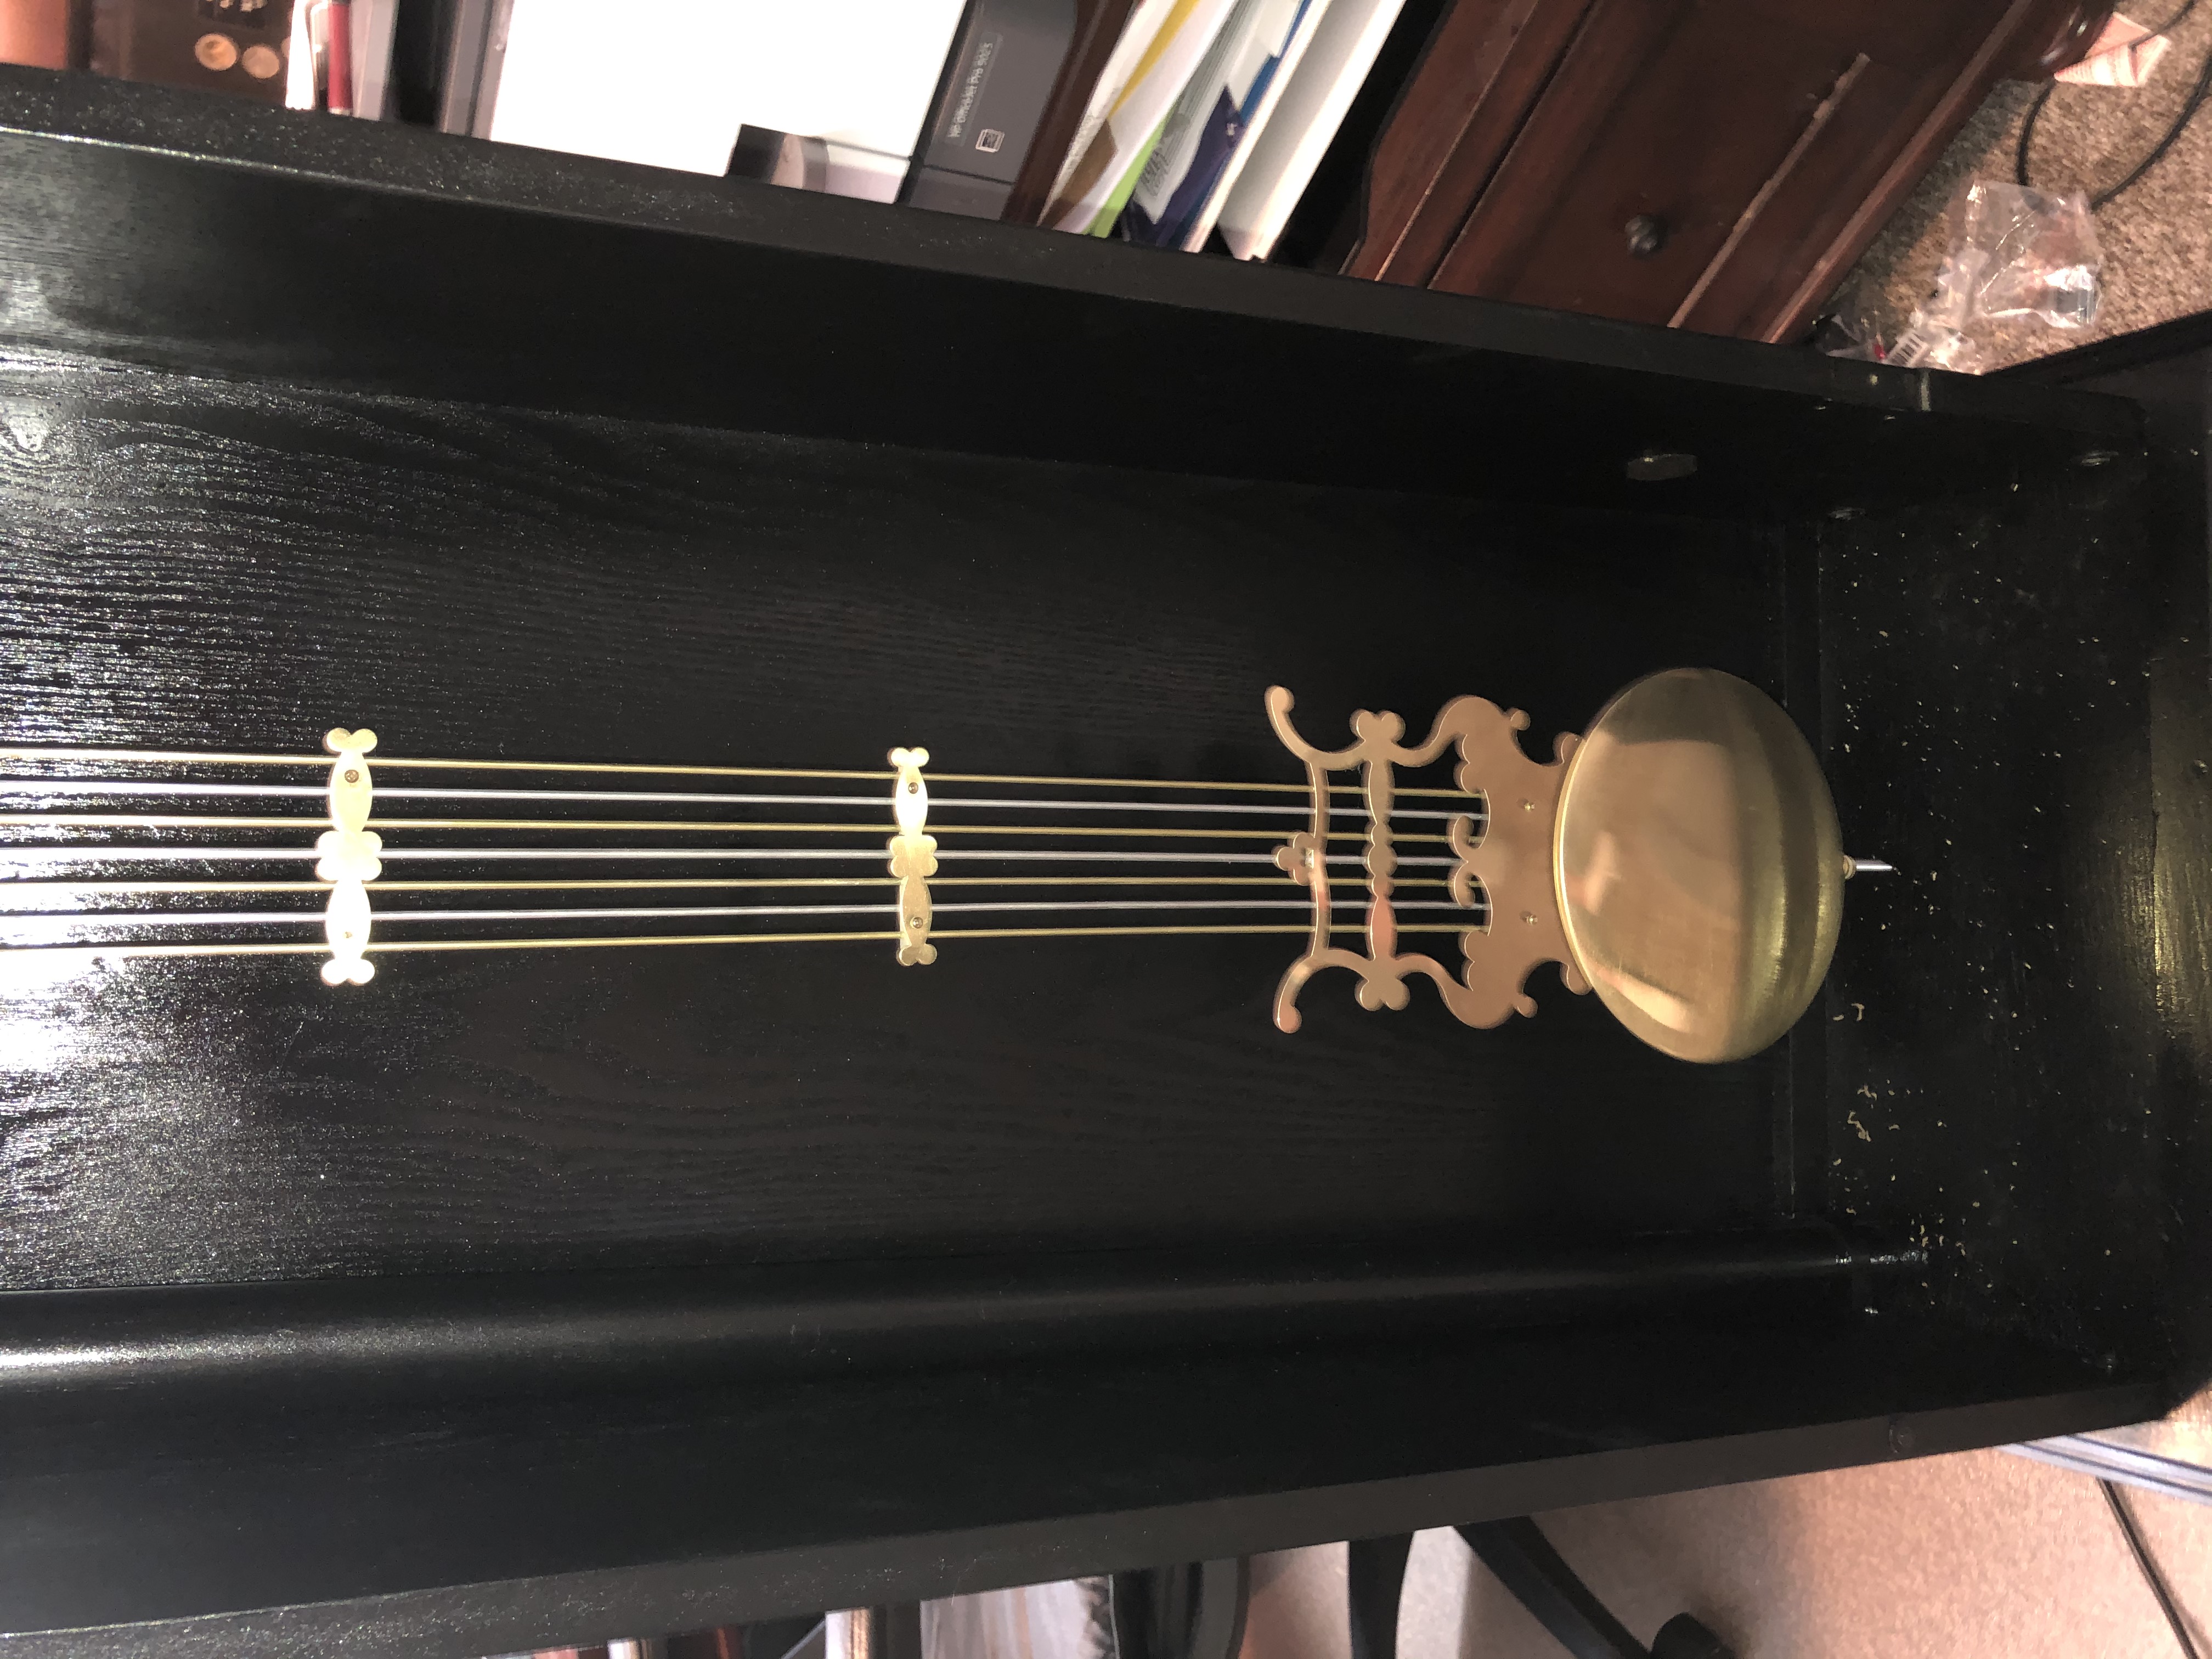
Gallery #