

Size Constraints #
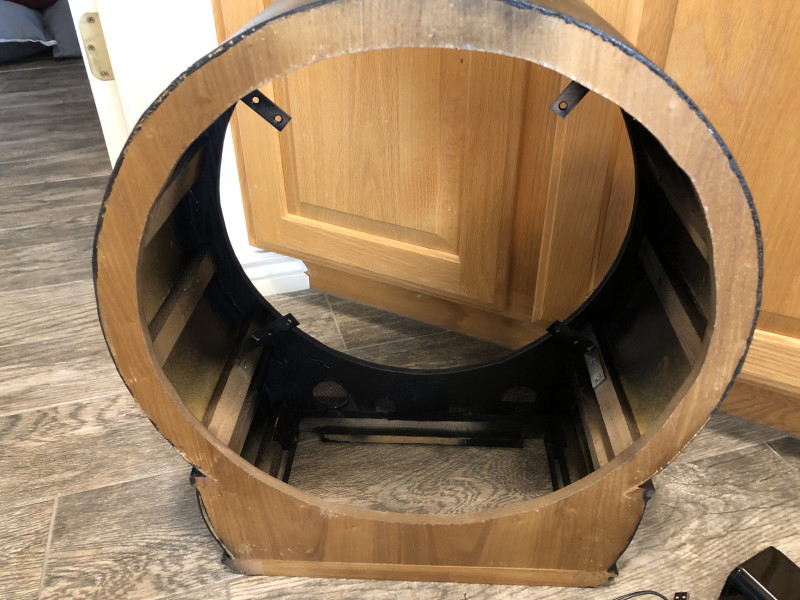
The main constraint is that there is only 8.25 inches from the back of the glass to the back of the clock and about 16 to 17 inches diameter. In that space the following needs to fit:
- the new Clock Face
- seven servos
- all of the gears
- the clock hands and nested shafts
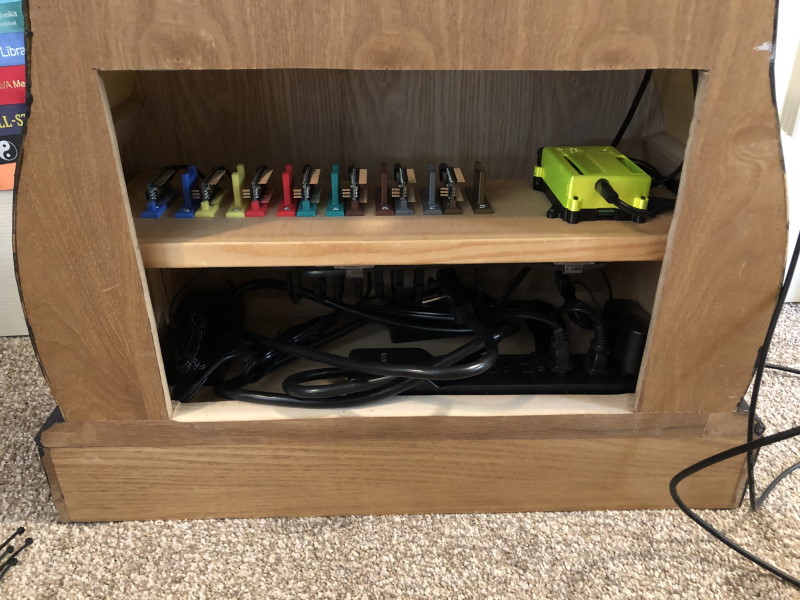
- computers
- seven Arduino Nanos
- a Raspberry Pi with the AdaFruit Servo Hat each with their own power supply
- power
- a powered USB Hub for the Arduinos with power supply
- a power bar/surge protector
- speaker power
- speakers
- the pendulum mechanism
- weight servos
Utilizing the Base #
This was going to be a lot to cram in there. After talking with my coworkers about the problem, I realized that the base of the grandfather clock was hollow. I wondered if I could cut a hole through the back and use it for the Arduinos, Raspberry Pi, USB Hub, and power supplies.